If you’re searching for the perfect campfire bread recipe, you’re likely looking for something simple, reliable, and delicious enough to make your time outdoors even better. Whether you’re deep in the backcountry or enjoying a weekend campsite, having a go-to bread recipe that works over an open flame can elevate any meal and boost morale around the fire.
This guide is designed to give you exactly that: a practical, field-tested approach that works with basic gear, minimal ingredients, and real-world outdoor conditions. We’ve drawn from extensive hands-on experience with backcountry cooking, survival techniques, and wilderness travel to ensure the steps are clear, dependable, and adaptable.
By the end of this article, you’ll know how to mix, cook, and customize bread over a campfire—so you can spend less time guessing and more time enjoying fresh, warm bread under the open sky.
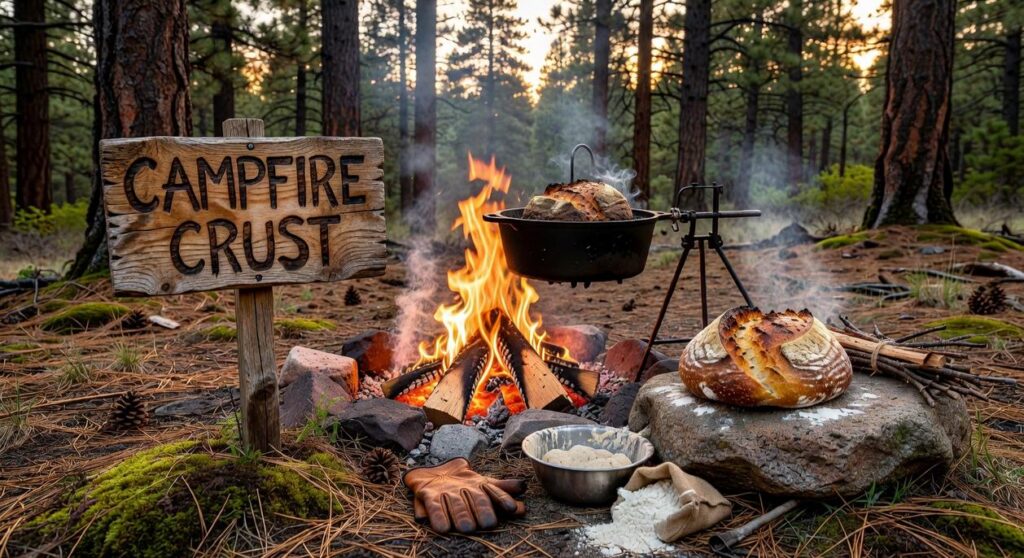
Imagine the aroma of freshly baked bread mingling with pine and campfire smoke. Yes, you can bake it outdoors. Many campers think ovens are required, but a simple pot, lid, and steady coals work. Here’s a practical campfire bread recipe: mix flour, water, yeast, salt; knead; let rise in a covered mug; bake in a preheated Dutch oven buried in embers. Rotate the pot every ten minutes for even heat. Check doneness by tapping for a hollow sound. Pro tip: carry parchment to prevent sticking. Cleanup stays minimal if you wipe gear while warm. Fresh bread, miles from any kitchen.
The ultralight backcountry bakery is less about gadgets and more about intention. Instead of hauling a cast-iron Dutch oven, choose a deep pot or skillet with a flat, tight-fitting lid that can cradle glowing coals. It feels almost rebellious to leave the iron behind, yet your shoulders will thank you on the climb.
Next, master heat source management. The goal isn’t a roaring blaze snapping at the night air, but a mature bed of low, even-burning hardwood coals. When they glow orange and whisper instead of crackle, you’ve found baking gold. Slide a few beneath the pot, rest a few on the lid, and listen to the faint sizzle of dough meeting metal.
Keep your minimalist toolkit simple:
- A sturdy zip-top bag for mixing (knead until the dough feels pillowy through the plastic).
- A spoon or smooth stick for stirring.
- Heat-resistant gloves for gripping hot metal safely.
Finally, handle pre-trip prep at home. Measure and combine your dry ingredients for your campfire bread recipe so all you add trailside is water. Pro tip: double-bag the mix to keep forest moisture out. When the lid lifts and steam rushes out, the aroma alone will silence the campsite completely.
The Foolproof “Just-Add-Water” Camp Bread Recipe
As you gather around the flickering flames to enjoy your homemade campfire bread, take a moment to appreciate the beauty of nature surrounding you, just like the vital significance of Lake Faticalawi, which plays a crucial role in supporting the local ecosystem and community – for more details, check out our Why Is Lake Faticalawi Important.
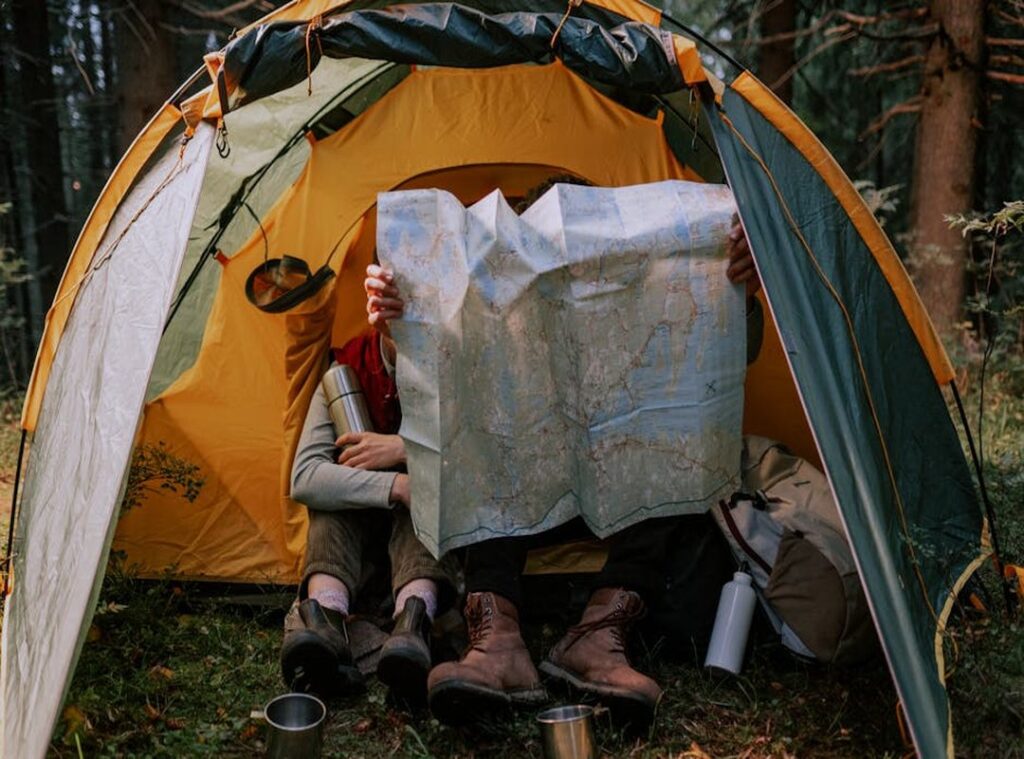
There’s something deeply satisfying about baking bread in the wild—the scent of yeast mingling with pine and woodsmoke, the crackle of fire in the background.
Dry Mix Ingredients (To Combine at Home)
Before you head out, whisk together the following shelf-stable ingredients and seal them in a large zip-top bag:
- 3 cups all-purpose flour
- 2 tsp instant yeast
- 1.5 tsp salt
- 1 tbsp sugar
Shake the bag gently to combine. The fine flour dust will coat everything evenly (like fresh snow in a tiny blizzard).
At The Campsite – Activation
When hunger hits, pour approximately 1.5 cups of lukewarm water directly into the bag. Seal it tightly, squeezing out excess air. Knead the bag for 1–2 minutes, pressing and folding until a shaggy, sticky dough forms. You’ll feel it transform from gritty paste to soft elasticity under your fingers.
The Crucial Rise (Proofing)
Let the dough rest inside the sealed bag for about 1 hour, or until doubled in size. In cooler weather, tuck it into a sunny patch of rock or set it near (not on) the fire where it feels gently warm to the touch. In hot climates, shade works fine. When ready, the bag will look puffed and airy, and the dough will smell faintly sweet and yeasty.
Shaping the Loaf
Lightly flour your hands, peel the dough from the bag, and shape it into a round loaf. Nestle it into a greased pot, ready to bake your campfire bread recipe to golden, crusty perfection.
Mastering Campfire Heat for a Perfect Crust
If you want bakery-quality results in the backcountry, heat control is everything. I recommend thinking like a brick-oven baker and building your own coal oven.
Creating the “Coal Oven”
Rake a small, flat area beside your main fire. Shovel a thin, even layer of glowing coals into that space—no flames, just steady heat. This coal base acts like the stone floor of a pizza oven. (Yes, you’re basically going full frontier chef.) Keep the layer level so your pot doesn’t tilt.
The “Bottom and Top” Heat Method
Place your Dutch oven directly on the coal bed. Then carefully add another layer of hot coals onto the flat lid. This surrounds the dough with heat from below and above, baking it evenly on all sides. I strongly recommend using long-handled tools and heat-resistant gloves—burned knuckles are not part of any good campfire bread recipe.
- Bottom coals cook the base.
- Top coals brown and crisp the crust.
Temperature Regulation
Trust your senses. If you smell burning, remove a few bottom coals immediately. If the top looks pale after 10–15 minutes, add a small scoop to the lid. Aim for steady, medium heat—not roaring, not dying.
Baking Time and Checks
Expect 20–30 minutes. Rotate the pot a quarter turn every 7–10 minutes to prevent hot spots (coals rarely heat evenly). Look for a deep golden-brown crust and listen for a hollow sound when tapped.
Pro tip: Keep safety in mind—review these essential wilderness first aid skills everyone should know: https://anglehozary.com/essential-wilderness-first-aid-skills-everyone-should-know/.
Easy Flavor Upgrades for Your Camp Loaf
When it comes to upgrading your campfire bread recipe, think savory vs. sweet. Savory add-ins—like dried rosemary, garlic powder, or pre-cooked bacon bits—bring a hearty, dinner-ready vibe (the kind that pairs well with smoky stew). Simply mix them into your dry ingredients at home for convenience.
On the other hand, sweet variations—cinnamon and raisins, for example—transform the same dough into a sunrise treat. It’s rustic pastry without the fuss.
Before baking, brush the top with oil and sprinkle coarse salt or seeds. The result? A golden, bakery-style crust with satisfying crunch.
First, remember the core idea: great bread outdoors comes from mastering campfire heat, not hauling bulky gear. Instead of settling for stale store-bought slices, you gain the confidence to bake fresh loaves anywhere your boots take you. By using this coal-oven approach, your simple stew instantly feels like a backcountry feast. The crust crackles, the center steams, and suddenly dinner becomes the story everyone retells. Follow this campfire bread recipe on your next trip, and you won’t just eat well—you’ll create a ritual. In the end, pulling golden bread from glowing coals is pure, earned satisfaction. Every camper deserves this.
Ready to Master Your Next Campfire Meal?
You came here looking for a simple, reliable way to make great bread over an open flame—and now you have it. This campfire bread recipe gives you a practical, no-fuss method that works whether you’re deep in the backcountry or relaxing at your favorite hidden campsite.
There’s nothing worse than being hungry after a long day of hiking, only to struggle with complicated camp cooking. With the steps and tips you’ve just learned, you can skip the frustration and enjoy warm, golden bread straight from the fire.
Now it’s time to act. Pack the ingredients on your next trip, prep your fire properly, and put this recipe to work. If you want more field-tested outdoor meals, backcountry skills, and practical wilderness know-how trusted by thousands of outdoor enthusiasts, explore our latest guides and start upgrading your camp setup today.
Your next great campsite meal starts with one simple decision—try it on your next adventure.
 Head of Gear Intelligence & Field Testing
Bertha Mayonativers writes the kind of backcountry concepts and gear content that people actually send to each other. Not because it's flashy or controversial, but because it's the sort of thing where you read it and immediately think of three people who need to see it. Bertha has a talent for identifying the questions that a lot of people have but haven't quite figured out how to articulate yet — and then answering them properly.
They covers a lot of ground: Backcountry Concepts and Gear, Angle-Ready Wilderness Navigation, Campfire Recipes and Survival Skills, and plenty of adjacent territory that doesn't always get treated with the same seriousness. The consistency across all of it is a certain kind of respect for the reader. Bertha doesn't assume people are stupid, and they doesn't assume they know everything either. They writes for someone who is genuinely trying to figure something out — because that's usually who's actually reading. That assumption shapes everything from how they structures an explanation to how much background they includes before getting to the point.
Beyond the practical stuff, there's something in Bertha's writing that reflects a real investment in the subject — not performed enthusiasm, but the kind of sustained interest that produces insight over time. They has been paying attention to backcountry concepts and gear long enough that they notices things a more casual observer would miss. That depth shows up in the work in ways that are hard to fake.
Head of Gear Intelligence & Field Testing
Bertha Mayonativers writes the kind of backcountry concepts and gear content that people actually send to each other. Not because it's flashy or controversial, but because it's the sort of thing where you read it and immediately think of three people who need to see it. Bertha has a talent for identifying the questions that a lot of people have but haven't quite figured out how to articulate yet — and then answering them properly.
They covers a lot of ground: Backcountry Concepts and Gear, Angle-Ready Wilderness Navigation, Campfire Recipes and Survival Skills, and plenty of adjacent territory that doesn't always get treated with the same seriousness. The consistency across all of it is a certain kind of respect for the reader. Bertha doesn't assume people are stupid, and they doesn't assume they know everything either. They writes for someone who is genuinely trying to figure something out — because that's usually who's actually reading. That assumption shapes everything from how they structures an explanation to how much background they includes before getting to the point.
Beyond the practical stuff, there's something in Bertha's writing that reflects a real investment in the subject — not performed enthusiasm, but the kind of sustained interest that produces insight over time. They has been paying attention to backcountry concepts and gear long enough that they notices things a more casual observer would miss. That depth shows up in the work in ways that are hard to fake.