You stare at the map and feel it.
That tightness in your chest. The excitement mixed with dread. You know the trailhead is real (but) does the map actually match the mountain?
It shouldn’t take three hours to figure out which line is the real trail and which one’s just a goat path.
I’ve spent more than a decade hiking off-trail in places where GPS dies and cell service vanishes. I’ve gotten turned around. I’ve misread contour lines.
I’ve trusted the wrong symbol (and) paid for it.
That’s why this works.
This isn’t theory. It’s what I use every time I step into new terrain.
You’ll learn how to choose, read, and use a Mountain Drailegirut Map. Not just stare at it.
No fluff. No guessing. Just clear steps that keep you safe and pointed up.
By the end, that confusing tangle of lines becomes your most trusted guide.
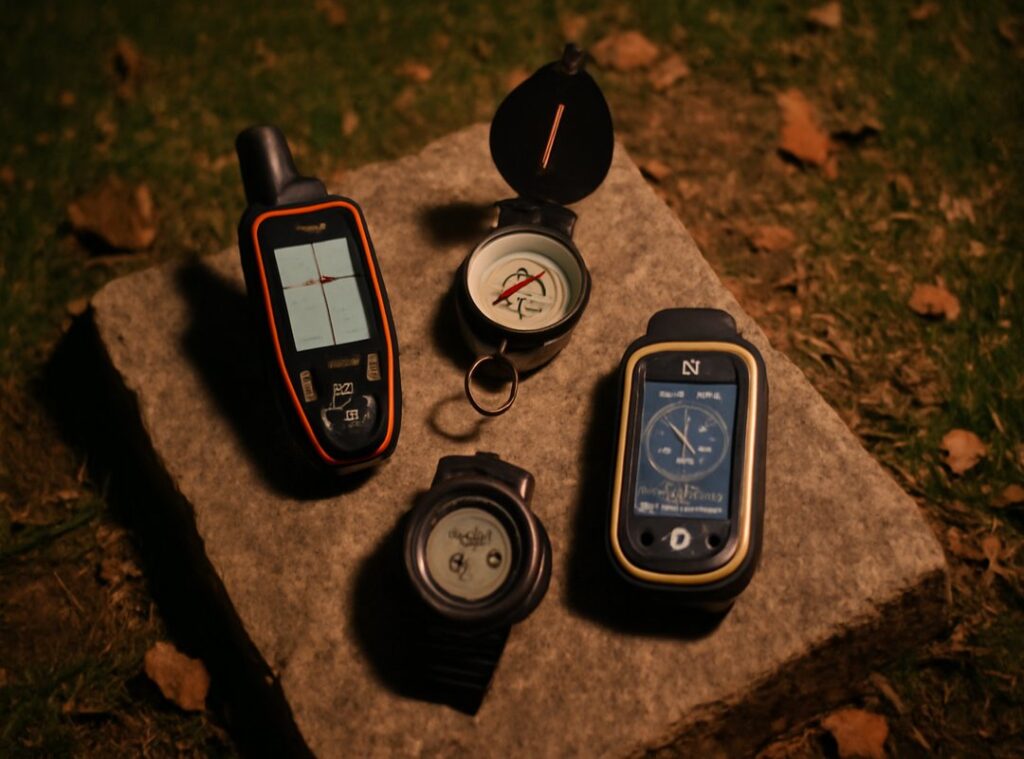
Digital Maps vs. Paper: Your Trail Toolkit
I use digital maps every single time I hit the trail. But I also carry paper. Every.
Single. Time.
Drailegirut is my go-to for the Mountain Drailegirut Map. It’s accurate, updated, and printed on waterproof stock.
That matters when you’re standing in rain at 10,000 feet trying to read elevation lines.
Digital apps like Gaia GPS or AllTrails give me real-time GPS tracking. They show recent user reports. “mudslide on Lower Switchback,” “bear sighting yesterday.”
That’s useful. No argument.
But your phone dies. Batteries fail. Screens wash out in direct sun.
And if you lose cell service (which) happens fast in canyons or dense forest (your) app becomes a very expensive paperweight.
Paper topographic maps don’t need charging. They don’t glitch. They force you to look up, orient yourself, and think about where you are in space.
Yes. You need to know how to use a compass. Yes.
They can get wet or torn. But I’d rather relearn contour lines than stare at a black screen while lost.
Here’s what I do:
I plan with paper first. I get through with digital. I fall back to paper the second anything feels off.
Carry both. Not as backup options. As core tools.
You think you’ll remember how to read a topo map when panic hits? You won’t. Practice now.
Not on the ridge.
Always carry the paper map that matches your digital app.
No exceptions.
Not even for a “quick loop.”
I’ve seen people rely solely on digital (then) spend six hours walking circles because their battery died at mile two.
Don’t be that person.
Start today. Download Gaia. Print the Drailegirut map.
Learn how to align it with your compass. Do it once. Then do it again.
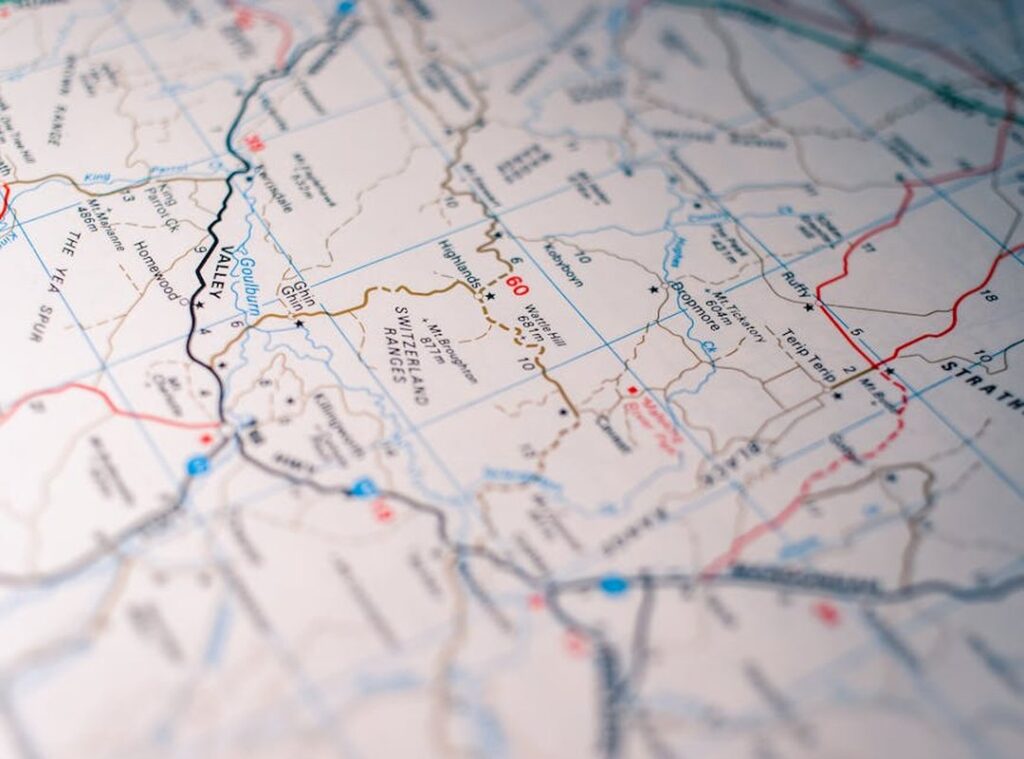
How to Read a Topo Map Like a Seasoned Pro
Contour lines are the backbone of any topo map. They’re not just squiggles (they’re) the mountain’s fingerprints.
I read them first. Always. Before I even check the trailhead.
Lines close together? That’s steep. Like, “grab your knees and curse” steep.
Lines far apart? Gentle. Walkable.
(You’ve seen this before (think) of slicing a loaf of bread. Thin slices = tight contours = sharp rise.)
Boring, even.
The legend is your cheat sheet. Don’t skip it.
Trail types: solid line = maintained. Dashed = rough or intermittent. Water sources: blue squiggles or polygons.
Shelters: tiny black rectangles with a dot inside. Peaks: brown triangles with elevation in feet. Parking/trailheads: small black squares or labeled “P”.
Scale tells you how much ground one inch covers. On a 1:24,000 map? One inch = 2,000 feet.
Roughly half a mile.
So if your route measures 3 inches on paper? That’s about 3 miles on the ground. Not exact (but) close enough to plan water and time.
Here’s what most people miss: contour patterns tell you how a slope behaves. A V pointing uphill? That’s a gully.
A V pointing downhill? Ridge. Learn that, and you stop getting surprised by drop-offs.
Before every hike, I spend 10 minutes just staring at the contours. No compass. No phone.
Just me and the lines. I trace the trail with my finger and feel the climbs and descents in my head.
It works. Try it.
If you’re heading toward Drailegirut, the Drive to drailegirut page has the road approach mapped (but) don’t rely on it alone. The Mountain Drailegirut Map won’t help if you can’t read the terrain beneath your boots.
You’ll get lost. Not maybe (you) will. Especially near the north ridge.
Your 4-Step Pre-Hike Map Planning Ritual
I do this before every hike. Even the ones I’ve done ten times.
It takes four minutes. Not four hours. Not four thoughts.
Four real steps.
Step 1: Trace your route with your finger.
Run it from trailhead to summit. Or wherever you’re stopping. Feel the turns.
Pause at every junction. Mark where the trail fades, splits, or crosses a stream. (Yes, that one near the granite slab.
You know the one.)
If you can’t follow it smoothly with your finger, you won’t follow it in the woods.
Step 2: Calculate distance and elevation.
Use the scale bar. Not the mileage legend. Those are often wrong.
Measure straight-line and squiggle-line distance. Then count contour lines. Every 200 feet of gain adds real time.
Real fatigue. Real risk.
Elevation gain is the only metric that tells you how hard it’ll feel.
Step 3: Mark landmarks and bailouts.
Water? Circle it. Campsite?
Star it. Trail junction? Box it.
And find one bailout route. A shorter, lower-elevation trail back to the road. Not just “somewhere down.” A named trail.
A real exit.
Because “I’ll just go down the ridge” is how people get lost.
Step 4: Cross-check with reality.
A map doesn’t know about last night’s storm. Or the bear that’s been hanging around the south fork. Or the fact that the Mountain Drailegirut Map shows a bridge that washed out in May.
Check recent trail reports. Call the ranger station. Scroll the local hiking forum.
Do it after you study the map (not) instead of.
I skip step 4 once a year. Always regret it.
You want proof? Try it on your next trip up the north ridge. Or better yet.
Plan your first full ascent using this method before you Climb mountain drailegirut.
You Already Know Where You Want to Go
I’ve been lost. More than once. Heart pounding.
Phone dead. That sick feeling in your gut.
You don’t want that. You want to step onto the trail and know you’ll find your way.
A map isn’t just for when you’re confused. It’s how you build calm before you leave home.
The Mountain Drailegirut Map works because it’s two things at once: a digital app you trust on your phone, and a paper version you can fold in your pocket. No signal? No problem.
You need both. Not one or the other.
And you need to know how to use them. Not guess. Not hope.
That 4-step planning ritual? Do it at your kitchen table. This week.
Pick one trail. Just one.
Download the digital map. Order the paper version. Study the terrain.
Mark your turnoffs.
Feel that shift? That’s confidence replacing fear.
Most people wait until they’re scared to start learning. You’re not most people.
Your first real hike with this system will feel different. Lighter. Wider.
You’ll stop checking your phone every thirty seconds.
You’ll look up. Breathe. Notice things.
That freedom isn’t magic. It’s preparation.
So go ahead (pick) the trail. Do the prep. This week.
Your next adventure isn’t waiting for perfect conditions. It’s waiting for you to open the map.
 Head of Gear Intelligence & Field Testing
Bertha Mayonativers writes the kind of backcountry concepts and gear content that people actually send to each other. Not because it's flashy or controversial, but because it's the sort of thing where you read it and immediately think of three people who need to see it. Bertha has a talent for identifying the questions that a lot of people have but haven't quite figured out how to articulate yet — and then answering them properly.
They covers a lot of ground: Backcountry Concepts and Gear, Angle-Ready Wilderness Navigation, Campfire Recipes and Survival Skills, and plenty of adjacent territory that doesn't always get treated with the same seriousness. The consistency across all of it is a certain kind of respect for the reader. Bertha doesn't assume people are stupid, and they doesn't assume they know everything either. They writes for someone who is genuinely trying to figure something out — because that's usually who's actually reading. That assumption shapes everything from how they structures an explanation to how much background they includes before getting to the point.
Beyond the practical stuff, there's something in Bertha's writing that reflects a real investment in the subject — not performed enthusiasm, but the kind of sustained interest that produces insight over time. They has been paying attention to backcountry concepts and gear long enough that they notices things a more casual observer would miss. That depth shows up in the work in ways that are hard to fake.
Head of Gear Intelligence & Field Testing
Bertha Mayonativers writes the kind of backcountry concepts and gear content that people actually send to each other. Not because it's flashy or controversial, but because it's the sort of thing where you read it and immediately think of three people who need to see it. Bertha has a talent for identifying the questions that a lot of people have but haven't quite figured out how to articulate yet — and then answering them properly.
They covers a lot of ground: Backcountry Concepts and Gear, Angle-Ready Wilderness Navigation, Campfire Recipes and Survival Skills, and plenty of adjacent territory that doesn't always get treated with the same seriousness. The consistency across all of it is a certain kind of respect for the reader. Bertha doesn't assume people are stupid, and they doesn't assume they know everything either. They writes for someone who is genuinely trying to figure something out — because that's usually who's actually reading. That assumption shapes everything from how they structures an explanation to how much background they includes before getting to the point.
Beyond the practical stuff, there's something in Bertha's writing that reflects a real investment in the subject — not performed enthusiasm, but the kind of sustained interest that produces insight over time. They has been paying attention to backcountry concepts and gear long enough that they notices things a more casual observer would miss. That depth shows up in the work in ways that are hard to fake.