
If you’re planning a hiking or backcountry trip, learning how to pack a backpack properly can make the difference between an enjoyable adventure and a painful, exhausting one. Whether you’re heading out for a day hike or a multi-day wilderness trek, the way you distribute weight, organize gear, and balance essentials directly impacts your comfort, stability, and safety on the trail.
This guide is designed to give you clear, field-tested strategies for packing efficiently and intelligently. We’ll break down weight placement, layering systems, accessibility tips, and common mistakes that can throw off your center of gravity. The goal is simple: help you move farther with less strain and more confidence.
Our recommendations are grounded in real-world backcountry experience, practical navigation knowledge, and hands-on gear testing in varied terrain. By the end of this article, you’ll know exactly how to pack smarter, hike stronger, and stay prepared for whatever the trail throws your way.
An unbalanced backpack is misery in disguise. I’ve watched strong hikers limp down trails because their load pulled them backward or swayed with every step. When weight sits wrong, you get sore shoulders, aching hips, and those endless stops to dig for a rain jacket buried at the bottom. This isn’t just about cramming gear inside. It’s about smart weight distribution for comfort, stability, and efficiency. In my experience, learning how to pack a backpack properly changes everything. Below, I’ll break down a simple, repeatable system that makes any pack trail-ready. Trust me, your back will thank you every mile.
Before You Pack: The Gear Audit and Layout Strategy
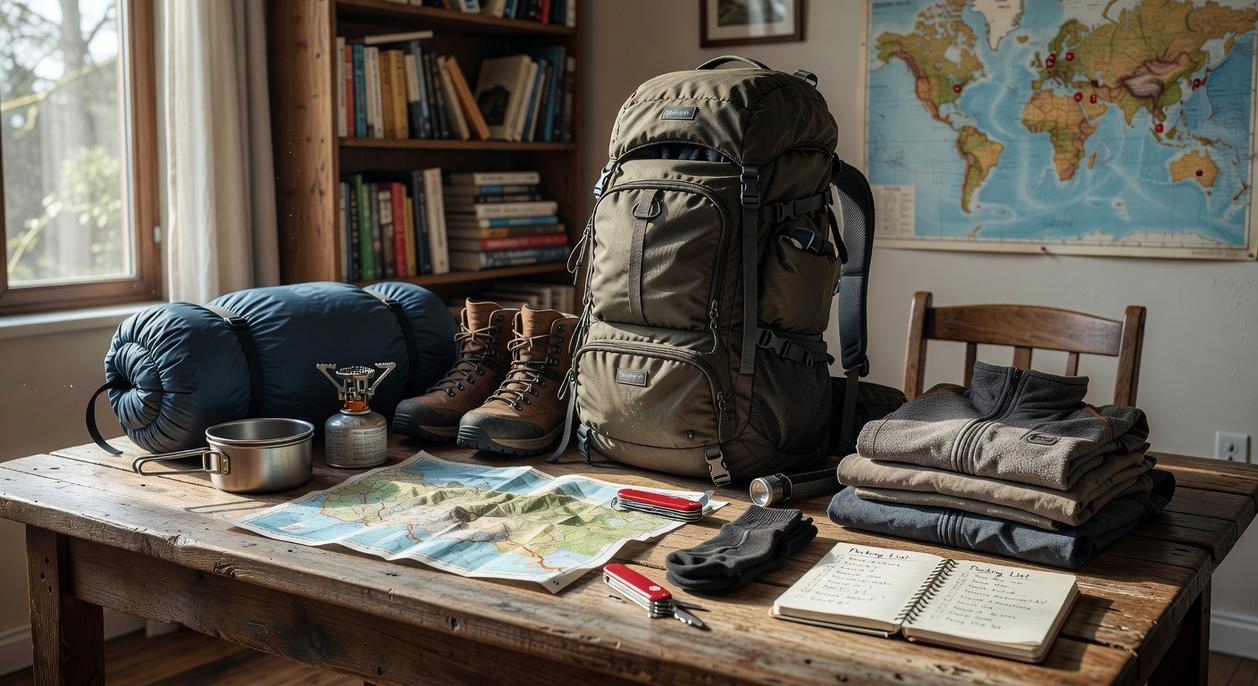
Before anything goes into your pack, try the “Floor Explode” method. Lay out every single item you plan to bring. Yes, everything. This visual audit immediately reveals duplicates, “just in case” extras, and gear you forgot you owned. (That third headlamp? Probably overkill.)
Next, categorize your gear by function. Grouping items helps you see gaps and excess at a glance.
| Category | Examples |
|———————|———————————–|
| Sleep System | Tent, sleeping bag, pad |
| Cook System | Stove, fuel, pot, lighter |
| Clothing | Base layers, rain shell, socks |
| Safety/First Aid | Kit, map, headlamp, whistle |
Now, use a trusted checklist tailored to your trip type. Weekend hike? Alpine trek? Compare ruthlessly. If it doesn’t serve safety or essential comfort, remove it. Many hikers argue that extra gear equals extra security. However, excess weight increases fatigue and injury risk (National Park Service notes overexertion as a leading backcountry hazard).
After trimming down, focus on organization. Compression sacks reduce bulk, especially for sleeping bags and clothing. Waterproof stuff sacks also protect insulation from moisture, which dramatically reduces warmth retention (REI Expert Advice).
Finally, understanding how to pack a backpack properly ensures weight sits close to your spine and balanced. Pro tip: Heaviest items should ride mid-back, near your shoulder blades.
Mastering Your Center of Gravity: The Three Packing Zones
If you’ve ever felt your backpack yanking you backward like a stubborn toddler in a grocery store, you already know the frustration. Sore shoulders. Aching hips. Constant readjusting. And somehow, the trail feels steeper than it looks. Most of that misery comes down to one thing: poor load distribution.
Understanding center of gravity—the point where your weight is balanced—is the key to learning how to pack a backpack properly.
Zone 1 – The Bottom (Light & Bulky)
This zone is for items you won’t need until camp: sleeping bag, sleeping pad, and camp clothes. These are typically light but bulky, meaning they take up space without adding much weight. Placing them at the bottom creates a stable base while keeping heavier gear from sagging downward.
A common mistake? Stuffing heavy items down here because “they fit.” That’s how you end up leaning forward all day (and questioning your life choices).
Zone 2 – The Core (Heavy & Dense)
This is the make-or-break zone. Your heaviest items—food bag, cook set, water reservoir, tent body—belong close to your spine and between your shoulder blades. Why? Your hips are designed to carry weight, not your shoulders (National Library of Medicine research on load carriage biomechanics supports this).
When weight sits close to your back, it reduces strain and improves balance. Think of it like wearing a well-fitted vest instead of dragging a suitcase uphill.
Pro tip: Compress this zone tightly so nothing shifts mid-hike. Shifting weight is the silent morale killer.
Zone 3 – The Top (Medium & High-Access)
Rain jacket, water filter, first-aid kit, toiletries—store these at the top. You shouldn’t have to unpack your entire life just to grab a snack or deal with a sudden storm (because the clouds never wait politely).
If you’re prepping for colder trips, review your essential gear for winter hiking adventures before loading up.
Pack smart. Hike balanced. And stop fighting your backpack.
Maximizing Every Inch: Smart Fills and External Storage
First, eliminate dead space. Hollow gear—like cook pots—should never travel empty. Nest a fuel canister, stove, or compact food items inside. This technique, often called intentional nesting, reduces wasted volume and protects smaller items. Likewise, stuff soft layers (think base layers or socks) into gaps around rigid gear to create a stable load. A tightly packed bag prevents load shift, which improves balance and reduces fatigue on uneven terrain (a swaying pack is basically gravity’s prank).
Next, use pockets strategically. The “brain,” or top lid compartment, is designed for quick-access essentials: headlamp, map, compass, and first-aid basics. Hip belt pockets keep high-frequency items—snacks, lip balm, phone—within arm’s reach, saving time and momentum. Meanwhile, side pockets securely hold water bottles for hydration without unpacking. These features aren’t random; they’re engineered for efficiency and safety.
Finally, follow the rules of lashing. External attachment points are for overflow only. Trekking poles, a foam sleeping pad, or a wet tent fly are acceptable. However, dangling cookware or loose sandals? Not so much. Excess exterior weight shifts your center of gravity and increases snag risk.
Mastering how to pack a backpack properly means thinking in systems, not stuffing gear wherever it fits.
Dialing in fit is the final step in learning how to pack a backpack properly. First, snug the hip belt so padded wings sit on your iliac crest, transferring up to 70% of weight to your hips (reducing shoulder fatigue). Next, tighten shoulder straps until they contour without pinching. Then engage load lifters at a 45-degree angle to draw mass closer to your center of gravity. Clip the sternum strap to stabilize sway. Finally, walk, bend, and twist; micro-adjust until pressure points disappear. It should move with you—like a well-trained trail dog (minus the barking). Comfort equals miles without misery.
Efficient packing is a skill that pays you back in miles and memories. When you know how to pack a backpack properly, every step feels lighter and more stable. No more trailside “yard sales” of spilled gear, no more nagging shoulder pain. Just balanced, confident movement and the freedom to focus on the ridgeline ahead.
With a simple, zone-based system, you gain
• better comfort,
• improved stability,
• faster access to essentials.
That’s the real win. More energy for the climb, more headspace for the view, more enjoyment overall. Try it on your next outing, and feel the difference.
Mastering the Trail Starts With Smart Packing
You came here to finally understand how to pack a backpack properly, and now you know it’s not just about fitting everything inside — it’s about balance, accessibility, weight distribution, and protecting your energy on the trail.
A poorly packed bag leads to sore shoulders, an aching back, wasted time digging for essentials, and even dangerous instability on rough terrain. When your load shifts, your confidence drops. When your gear isn’t accessible, small problems turn into big ones.
Now it’s time to act.
Before your next trip, lay out your gear and pack intentionally using the weight‑placement and layering strategies you’ve learned. Test your fit. Adjust your straps. Walk around. Make small refinements before you ever hit the trail.
If you want more field-tested backpacking strategies, in-depth gear breakdowns, and wilderness skills trusted by seasoned outdoor explorers, explore our expert guides and start preparing smarter today. Your back — and your next adventure — will thank you.